How to use Medusa with your seedbox
Introduction
Medusa app offers a very nice functionality for your shows as it is an "Automatic Video Library Manager for TV Shows. It watches for new episodes of your favorite shows, and when they are posted it does its magic. ". That means that you can easily automate the process of extracting the downloaded files, renaming the episode, move it to the appropriate folder and search for subtitles.
Installation
-
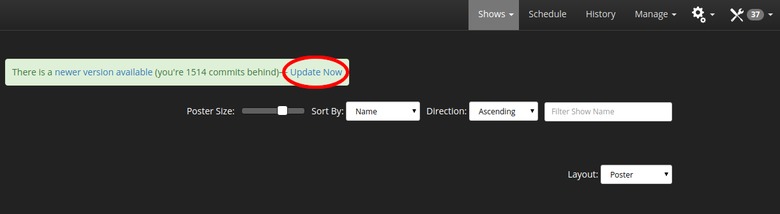
After successful login, you will be greeted with a warning regarding being several commits behind. Just click at the Update Now and refresh the page when done
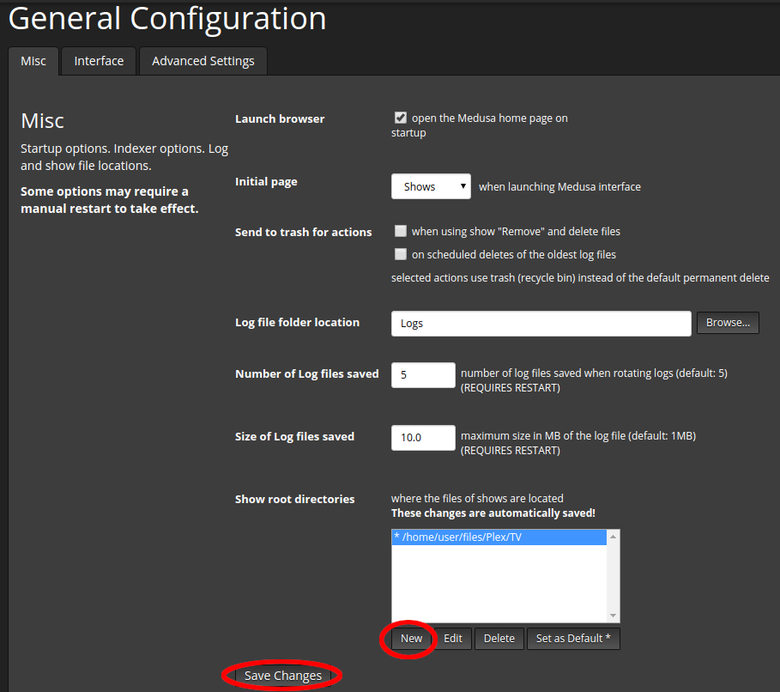
- Hover your mouse on the gears icon at the top right corner and choose General at the dropdown menu. At the new window, go to Show root directories and add the location of where the files of your favourite shows are located. Click New, and input (or navigate to) ;
/home/user/files/Plex/TV
The path /home/user/files/Plex/TV is being chosen so you can can implement at a future time the same folder for your plex server app too, should you choose to install it.
Also, bear in mind that if the folder doesn't exist, you have to manually create it, either via your Seedbucket app (an excellent guide on how to use the app is here) or via FTP or SSH.
Click Save changes button, scroll down and again, Save changes at the bottom left corner.
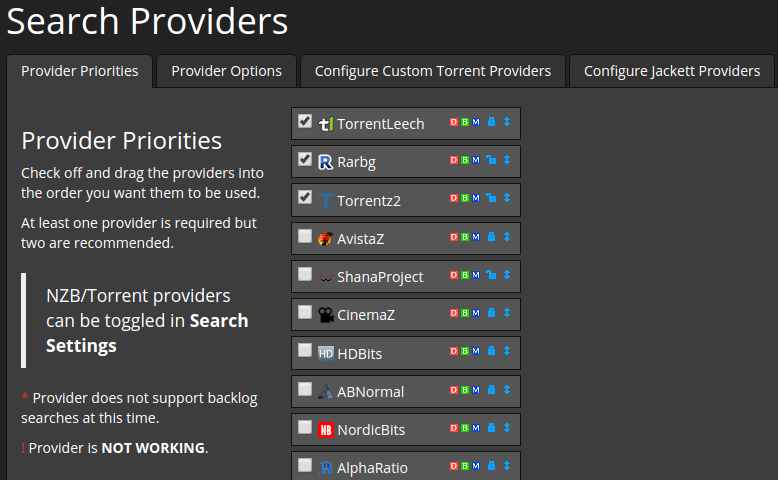
- Hover your mouse on the gears icon again, this time choosing Search providers. You will be automatically redifrected to the first tab Provider Priorities. From the tracker list, tick to enable the tracker(s) you wish to use. Scroll at the bottom and click Save changes button. You will now see all the chosen trackers to be up in the list, prioritized. You can drag and drop a certain tracker if you wish to change its priority - don't forget to click Save changes button again.
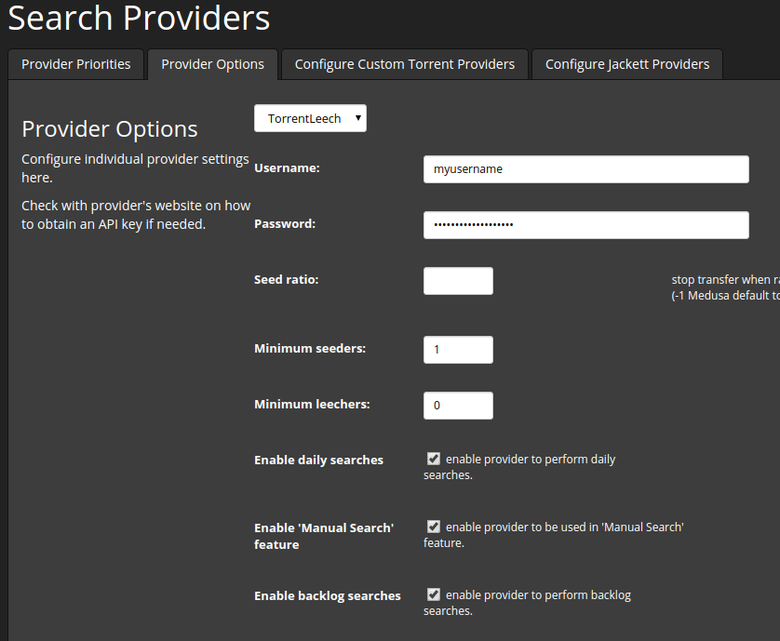
- Head to the second tab Provider Options and set your login credentials for each private tracker you chose at the previous step. Click Save changes button at bottom left corner
- Once more, head to the gears icon at the top right corner and select Subtitle settings. Enable the option for searching subtitles and choose the subtitles language of your liking
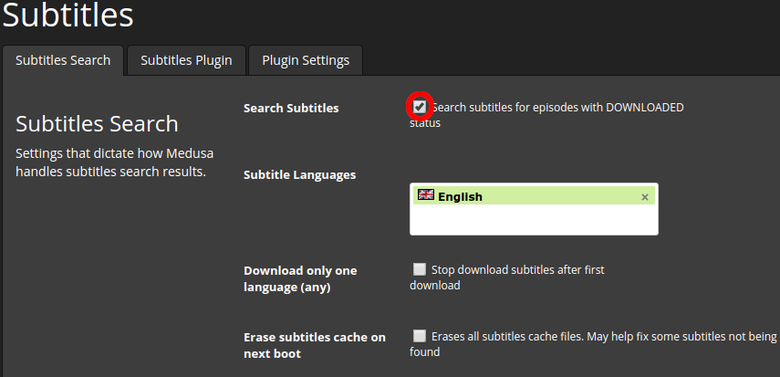
Don't forget to Save changes at the bottom left corner!
- Go to the second tab Subtitles Plugin and choose the subtitle services you wish to use, by ticking and prioritizing them, like you did at the trackers list.
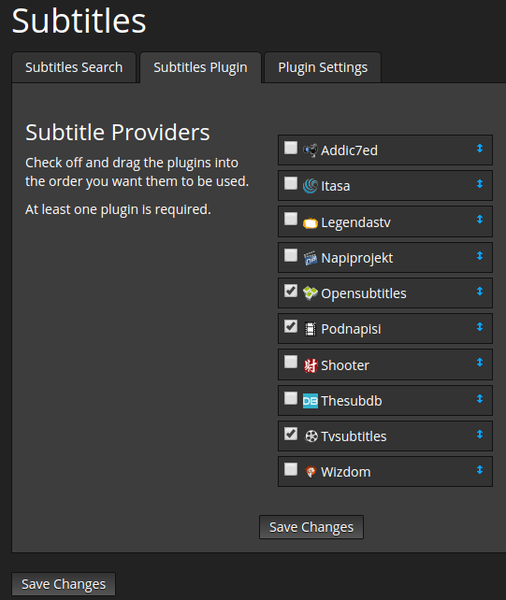
Again, don't forget to Save changes at the bottom left corner!
-
If you chose a subtitle service that needs login credentials, you can do that a the third tab of the subtitles section, Plugin Settings.
-
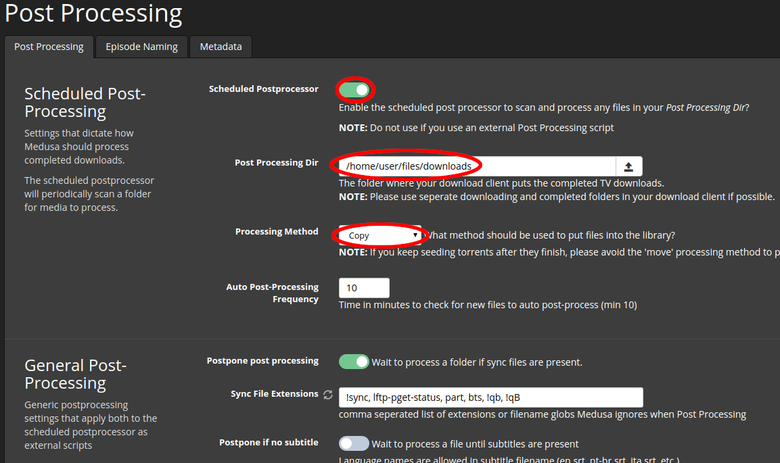
Finally, head to the gears icon and select Post-Processing. At the first tab (Post-Processing), enable the Scheduled Postprocessor and set the Post Processing Dir as in the screenshot. As for the processing method, you can choose Copy method that will copy the downloaded files to the location specified, thus enabling you to keep seeding torrents after they are finished
Scroll down and choose to unpack the TV releases in your download dir
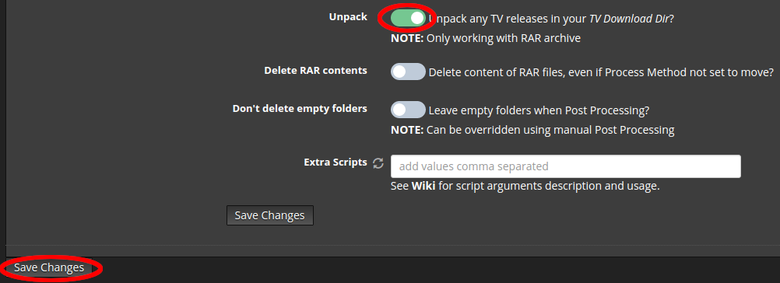
Click the Save changes button at the bottom left corner!
Add shows
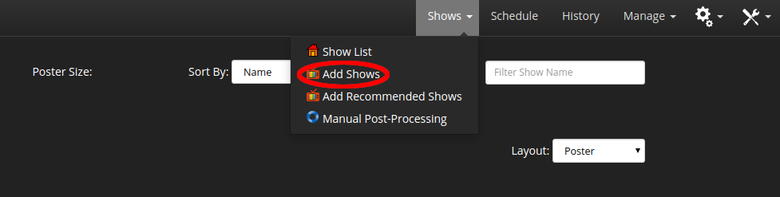
All previous steps regarding configuration and options are done only once. Now you are ready to start adding your favourite shows by using your custom indexer. Hover your mouse on Shows at top right corner and choose Add Shows from the dropdown menu.
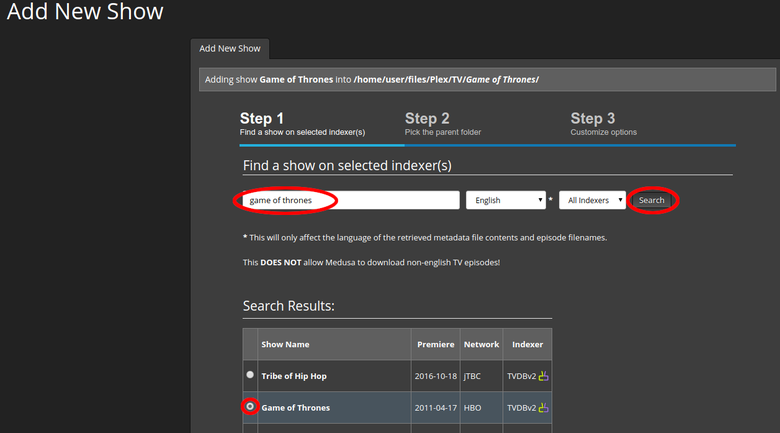
The folder will already have been picked by default as it was set in the previous step. Input the show's name and, click the Search button and pick a show (click the bullet!) at search results.
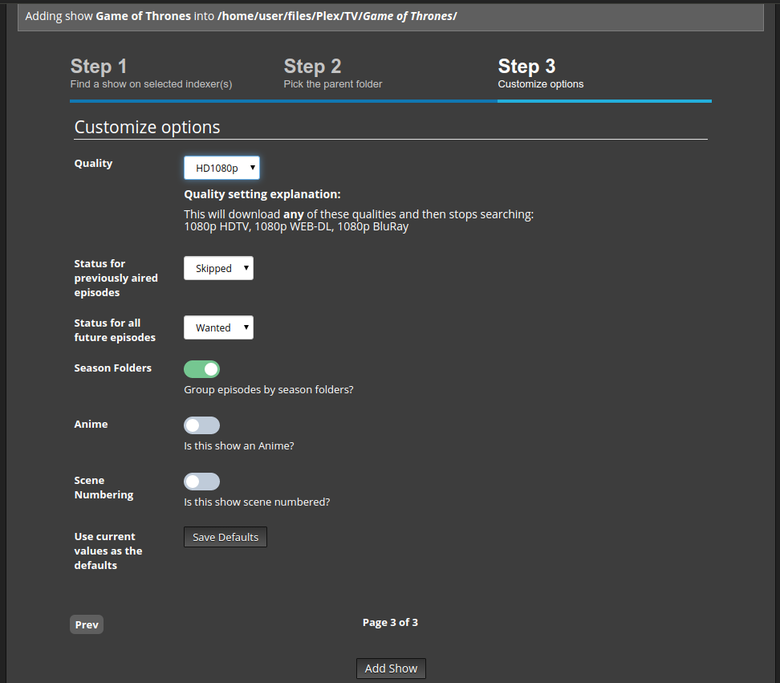
Scroll down for more options, and click next for choosing some more custom ptions. At step 3, choose your preferred quality and the status of previous / future episodes. Click Add Show at the bottom
Note: You can save those options as default so you don't have to change them again
The show will be added and it will soon automatically start downloading the files, post-process them and search for subtitles. Rinse and repeat for your following series-to-add!